A glass screen protector serves as a reliable shield for our precious smartphones and tablets, safeguarding them against scratches and cracks. However, there may come a time when you need to remove the protector, whether to replace it or enjoy the pristine screen without any additional layers. In this guide, we will take you through how to remove glass screen protector, ensuring your device remains unharmed throughout the process. Removing a glass screen protector requires careful technique to prevent damage to the device's screen.
Why Might You Remove A Screen Protector?
There are several reasons why you might choose to remove a screen protector from your device:
- Replacement- Over time, screen protectors can accumulate scratches and wear, diminishing their effectiveness. Removing the old protector allows you to replace it with a fresh one, ensuring optimal screen protection.
- Upgrade- If you're upgrading to a new device, you may want to remove the screen protector from your current device and transfer it to the new one. This can save you moneyon purchasing a new protector for the upgraded device.
- Change of Preference- Personal preferences evolve, and you might decide that you no longer want to use a screen protector. Removing it allows you to enjoy the device's screen in its natural state, without any additional layers.
- Compatibility Issues- In some cases, a screen protector might interfere with certain features or accessories of your device. For example, it could prevent the proper fitting of a device case or hinder the functionality of a fingerprint sensor. Removing the protector can resolve these compatibility issues.
- Cleaning and Maintenance- When cleaning your device, you might prefer to remove the screen protector to ensure thorough and effective cleaning of both the screen and the protector itself. This helps in maintaining a clear and smudge-free display.
Be Careful Removing A Tempered Glass Screen Protector
When it comes to removing a tempered glass screen protector, it's essential to exercise caution and follow the proper procedure. Tempered glass protectors are known for their durability and strength, but mishandling during removal can still lead to damage to your device's screen. Here are some crucial tips to keep in mind when removing a tempered glass screen protector:
- Choose the right time and place- Find a clean, well-lit area where you can comfortably work on removing the protector. Make sure there are no distractions or potential hazards that could lead to accidents.
- Power off your device- Before removing the screen protector, power off your device. This not only prevents any accidental interactions but also ensures that the screen is not lit, making it easier to see any air bubbles or misalignment during the removal process.
- Start from the corner- Gently lift the corner of the screen protector using a plastic card or your fingernail. Apply minimal pressure to avoid any potential damage to the screen underneath. Once you have a small gap, slowly and evenly lift the protector from one side to the other.
- Go slow and steady- Take your time while removing the protector. Avoid using excessive force or pulling the protector too quickly, as this can increase the risk of damaging the screen. Applying gradual pressure and maintaining a steady pace will help minimize the chances of accidents.
- Clean the screen afterward- Once the screen protector is removed, use a microfiber cloth to wipe the device's screen. This will remove any residual adhesive or particles that may have been left behind. Ensure the screen is completely clean and free from any debris before using the device or applying a new screen protector.
Remember, removing a tempered glass screen protector requires patience and precision. If you're unsure about the process or feel uncomfortable doing it yourself, it's always recommended to seek professional assistance. By following these guidelines, you can safely remove a tempered glass screen protector without compromising the integrity of your device's screen.
Screen Protector Removal Tools
When removing a screen protector, having the right tools can make the process easier and minimize the risk of damaging your device. Here are some useful tools for removing screen protectors:
- Plastic Card- A plastic card, such as a credit card or ID card, is commonly used to lift the edge of the screen protector. Its thin and flexible nature helps create a gap between the protector and the screen without scratching or damaging the surface.
- Transparent Adhesive Tape- Transparent adhesive tape can be employed to assist in removing the screen protector. By applying the tape to a corner of the protector and pulling it gently, you create a pulling force that helps detach the protector from the screen.
- Microfiber Cloth- A soft microfiber cloth is essential for cleaning the device's screen before and after the removal process. It effectively removes dust, fingerprints, and any residue left by the screen protector without scratching the screen.
- Isopropyl Alcohol- Isopropyl alcohol, commonly known as rubbing alcohol, is useful for removing adhesive residue left behind after removing the screen protector. Apply a small amount to a microfiber cloth and gently rub the affected areas to dissolve and remove the adhesive.
- Suction Cup (optional)- In some cases, a suction cup can be helpful for lifting the screen protector off the device's screen. This tool provides an alternative method of detachment, particularly if the protector is larger or firmly adhered.
How To Remove A Screen Protector In 4 Easy Steps?

How YOU SHOULD Remove a Screen Protector from Your Phone
Removing a screen protector can be a straightforward process if you follow these four easy steps:
- Prepare the area- Before you begin, find a clean and well-lit workspace. Power off your device to avoid accidental interactions and ensure that the screen is not illuminated. This will help you see any air bubbles or misalignment during the removal process.
- Lift the corner - Using a plastic card or your fingernail, gently lift the corner of the screen protector. Apply minimal pressure to avoid damaging the screen underneath. Start from one corner and gradually work your way across, lifting the protector as you go.
- Peel off the protector- Once you have a small gap, use your fingers or the plastic card to peel off the screen protector from one side to the other. Maintain a slow and steady pace, applying even pressure throughout the process. Avoid pulling too quickly or using excessive force, as this can increase the risk of damaging the screen.
- Clean the screen- After removing the screen protector, use a microfiber cloth to wipe the device's screen. This will remove any residual adhesive or particles that may have been left behind. Ensure that the screen is completely clean and free from debris before using the device or applying a new screen protector.
Following these four steps should enable you to easily remove a screen protector without causing any harm to your device's screen. Remember to work carefully and take your time to ensure a smooth and successful removal process.
Use Toothpick And A Credit Card To Remove Screen Protector
While toothpicks and credit cards are commonly used for various purposes, it is not recommended to use them for removing a screen protector. The screen of your device is sensitive and can easily get scratched or damaged if not handled properly. Toothpicks have sharp edges that can potentially cause scratches, and credit cards may not provide enough precision or flexibility for safe removal.
It is advisable to use the appropriate tools specifically designed for screen protector removals, such as plastic cards or dedicated screen protector removal kits. These tools are designed to minimize the risk of damage to your device's screen while effectively removing the screen protector. It's better to prioritize the safety of your device by using the right tools rather than risking potential damage with toothpicks and credit cards.
How To Replace The Screen Protector On Your Phone?
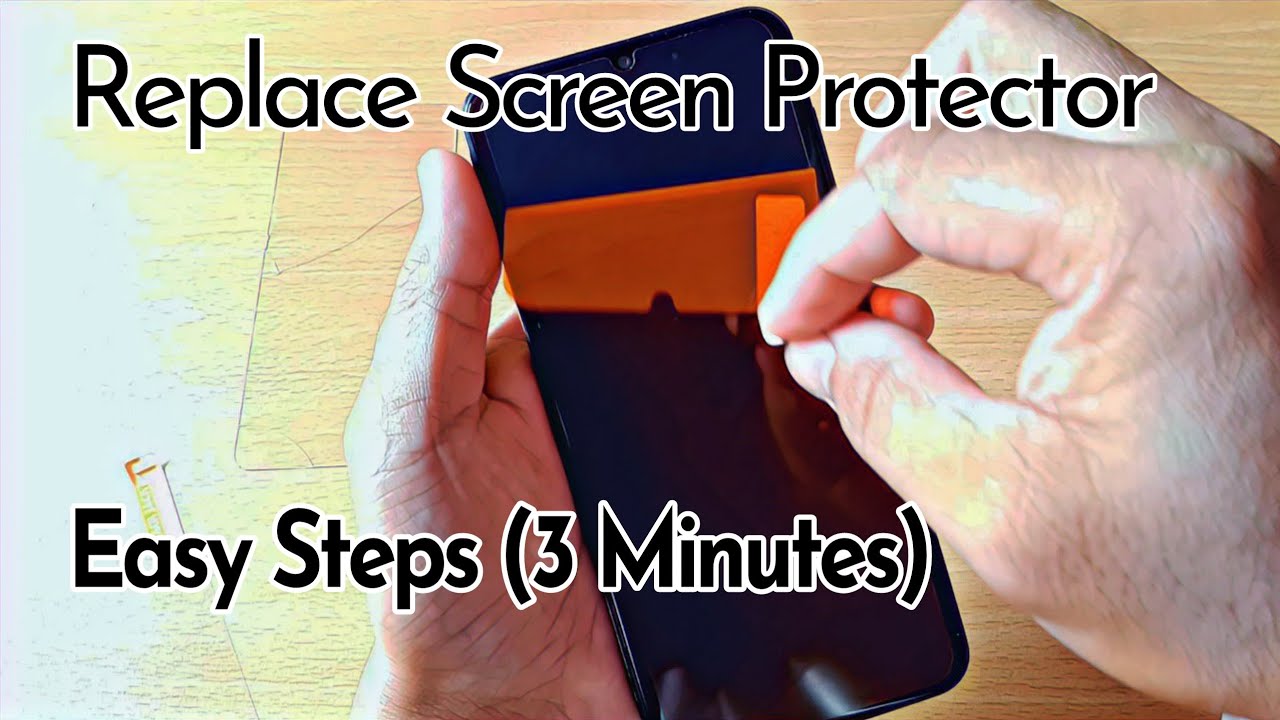
Replace Screen Protector with Easy Steps | How To
Replacing the screen protector on your phone is a relatively simple process. Here's a step-by-step guide to help you replace the screen protector:
Gather The Necessary Supplies
Before you start, make sure you have the following supplies:
- New screen protector- Purchase a high-quality screen protector that is compatible with your phone model.
- Microfiber cloth- Use a clean and lint-free microfiber cloth for cleaning the screen.
- Cleaning solution- If needed, use a screen cleaning solution or isopropyl alcohol to remove any residue.
Remove The Old Screen Protector
Start by carefully peeling off the old screen protector from one corner. Lift it slowly and evenly, making sure not to damage the device's screen underneath. If the old protector is stubborn or leaves a residue, you can use adhesive tape to lift it off gently.
Clean The Screen
Once the old screen protector is removed, use a microfiber cloth to clean the screen thoroughly. Wipe away any fingerprints, dust, or residue. If necessary, lightly dampen the cloth with a screen cleaning solution or isopropyl alcohol to ensure a pristine surface.
Apply The New Screen Protector
Follow the instructions provided with your new screen protector for the best application technique. Typically, you will need to align the protector with the screen, ensuring proper fit and positioning. Slowly lower the protector onto the screen, starting from one edge and working your way to the other. Use a soft cloth or a squeegee to remove any air bubbles and ensure a smooth application.
Final Adjustments
Once the screen protector is applied, check for any misalignment or air bubbles. If necessary, carefully lift the edge of the protector and reposition it. Use a squeegee or your fingers to smooth out any remaining bubbles or imperfections.
After completing these steps, your new screen protector should be securely applied and ready to provide protection for your phone's screen. Remember to follow the manufacturer's instructions and exercise caution throughout the process to avoid any damage to your device.
How Do I Get Rid Of Bubbles Under My Screen Protector? FAQ

How to Remove Air Bubbles From Screen Protectors | 100% Fast and Effective
Bubbles can sometimes form under a screen protector during the application process. Here are some tips to help remove them:
- Press and smooth- Gently press on the bubble with your finger or a microfiber cloth. Start from the center and move towards the edges, applying even pressure. This may help the bubble dissipate or move toward the edges.
- Lift and reapply- If pressing doesn't work, lift the edge of the screen protector with a plastic card or your fingernail. Carefully peel it back and reapply it, making sure to align it properly and smooth out any bubbles as you go.
- Use a credit card or squeegee- If the bubble persists, use a credit card or a dedicated squeegee tool to push the bubble toward the edge of the screen. Apply gentle pressure and work from the center towards the edges, gradually forcing the air out.
- Tap method- For stubborn bubbles, tap the bubble with your finger or the side of a plastic card. The tapping motion can help disperse the air and flatten the bubble. Be careful not to apply too much force, as it may damage the screen protector.
- Give it time- In some cases, small bubbles may disappear on their own over time as the screen protector settles. If the bubble is not obstructing the display or affecting functionality, you can wait for a few days to see if it dissipates.
Remember, it's best to address bubbles as soon as possible after applying the screen protector to prevent them from becoming more difficult to remove. Patience and gentle pressure are key to successfully eliminating bubbles and achieving a smooth and bubble-free screen protector.
How Do I Remove A Liquid Screen Protector? FAQ
How To Remove Liquid Glass Screen Protector
A: Liquid screen protectors create a thin, invisible layer on the screen and can be a bit trickier to remove compared to traditional film or tempered glass protectors. Here's a guide on how toremove a liquid screen protector:
- Determine the type of liquid screen protector- Some liquid screen protectors are designed to gradually wear off over time. If you have this type, you may not need to remove it manually. However, if you have a permanent liquid screen protector, follow the steps below.
- Clean the screen- Before attempting removal, clean the screen thoroughly with a microfiber cloth and screen cleaning solution. This will remove any dirt or residue, making the removal process easier.
- Apply adhesive tape- Take a piece of transparent adhesive tape and press it firmly onto the surface of the liquid screen protector. Make sure the tape adheres well and has good contact with the protector.
- Peel off the tape - Slowly and carefully peel off the adhesive tape in a swift motion. The tape should lift off a portion of the liquid screen protector as it is removed. Repeat this process until the majority of the protector is lifted.
- Clean and repeat if necessary- After removing the initial layer, clean the screen again with a microfiber cloth and screen cleaning solution. If there are remnants of the liquid screen protector left, repeat the process with fresh adhesive tape until the protector is completely removed.
- Clean and inspect- Once the liquid screen protector is removed, clean the screen one final time to ensure it is clear of any residue. Inspect the screen for any scratches or damage that may have occurred during the removal process.
Note:Liquid screen protectors bond chemically to the screen, so complete removal may not be possible in some cases. If you're unsure or concerned about the removal process, it's recommended to seek professional assistance.
Always follow the manufacturer's instructions when applying or removing a liquid screen protector. Be patient and gentle during the removal process to avoid any damage to your device's screen.
People Also Ask
Can I Reuse A Glass Screen Protector After Removal?
Glass screen protectors are typically not designed for reuse. Once removed, they may lose their adhesive properties and become less effective. It is recommended to replace the protector with a new one.
How Do I Remove A Glass Screen Protector Without Leaving Residue?
To remove a glass screen protector without residue, use transparent adhesive tape to create a pulling force and gradually detach it from the screen. Clean any residual adhesive with isopropyl alcohol and a microfiber cloth.
What If My Glass Screen Protector Is Cracked While Removing It?
If the glass screen protector is cracked while removing it, exercise caution to prevent any injury from sharp edges. Consider using adhesive tape to lift and remove the cracked protector, and seek professional assistance if needed.
Can I Use Heat To Remove A Glass Screen Protector?
It is generally not recommended to use heat to remove a glass screen protector. Excessive heat can damage the device's screen or cause the protector to shatter. Stick to the gentle methods outlined in the guide.
Conclusion
Removing a glass screen protector from your device may seem like a daunting task, but with the right approach and careful handling, it can be accomplished without any damage. By following the steps on how to remove glass screen protector, you can safely detach the protector from your screen and prepare it for a new protector or enjoy the device in its original form.
Remember to exercise patience, use the recommended tools, and proceed with caution. With these guidelines, you can confidently remove a glass screen protector, maintaining the integrity of your device's screen and ensuring its longevity.