Adding a second monitor to your Windows setup can significantly boost productivity and make multitasking a breeze. However, encountering the frustrating issue of your second monitor not being detected can put a damper on your plans.
If you're facing this problem, fear not! In this guide, we will walk you through the most effective solutions on how to fix a second monitor not detected on Windows. There are several troubleshooting steps you can take to resolve the issue and get your dual-monitor setup up and running seamlessly.
4 Fixes For Second Monitor Not Detected On Window 10/11

How To Fix New Second Monitor Not Detected In Windows
Check Hardware Connections
Apologies for the confusion, but checking hardware connections is not applicable when connecting a wireless external display in Windows 10/11. Wireless displays use Wi-Fi or other wireless technologies to establish a connection, eliminating the need for physical cables.
When connecting a wireless external display, you don't need to worry about checking physical connections like video cables. Instead, you'll need to ensure that both your computer and the wireless display support the same wireless display technology (such as Miracast or Wi-Fi Direct) and that they are connected to the same Wi-Fi network.
The first step is to ensure all hardware connections are secure:
- Turn off your computer and the second monitor.
- Double-check that the video cable is correctly plugged into both your computer's graphics card or motherboard and the second monitor.
- If you are using an adapter or converter for your video connection, ensure it is working correctly.
- Turn on your computer and the second monitor.
Update Graphics Drivers
How to Update ANY Graphics Driver in Windows 10
Updating graphics drivers is an essential step to ensure optimal performance and compatibility when connecting a wireless external display in Windows 10/11. Outdated or corrupted graphics drivers can lead to connectivity issues or poor display quality. Here's how toupdate your graphics drivers:
Identify Your Graphics Card
- Right-click on the Startbutton and select Device Managerfrom the context menu.
- Expand the Display adapterssection to see the name of your graphics card.
Download The Latest Drivers
Visit the website of your graphics card manufacturer (e.g., NVIDIA, AMD, Intel) to download the latest drivers. Make sure to download the drivers specific to your graphics card model and your operating system (Windows 10/11).
Install The Updated Drivers
- Once the drivers are downloaded, locate the file and run the installer.
- Follow the on-screen instructions to install the drivers.
- It's usually recommended to perform a custom installation and select the option for a clean install to avoid potential conflicts with old drivers.
Restart Your Computer
After the installation is complete, restart your computer to apply the changes.
Verify The Driver Update
- After the restart, right-click on the desktop and select Display settings.
- Scroll down and click on Advanced display settings.
- Under Display information, check if the driver version is updated to the latest one.
By updating your graphics drivers, you ensure that your computer is equipped with the latest improvements and bug fixes, making it more compatible with wireless external displays and providing a smoother display experience.
Adjust Display Settings
Adjusting display settings is crucial to ensure that your wireless external display is working correctly and providing the best viewing experience on Windows 10/11. Here's how to adjust the display settings:
Connect The Wireless External Display
Make sure your wireless external display is powered on and connected to the same Wi-Fi network as your computer. Follow the manufacturer's instructions to set up the wireless connection.
Open Display Settings
- Right-click on the desktop and select Display settingsfrom the context menu.
- Alternatively, you can go to Start> Settings(the gear-shaped icon) > System> Display.
Detect The External Display
Once in the Display settings, scroll down and click on the Detectbutton under the "Multiple displays" section. Windows will attempt to identify the newly connected wireless external display.
Select Display Mode
- Under the "Multiple displays" section, you'll see options to choose how you want to use the external display.
- Extend these displays -This mode allows you to have an extended desktop across both the computer screen and the external display. You can drag windows and applications between the two screens.
- Duplicate these displays -This mode mirrors your computer screen onto the external display. Whatever you see on your computer screen will be duplicated on the wireless external display.
- Show only on X -If you prefer to use only the computer screen or the external display, you can select this option, where "X" represents the number of the display.
Adjust Display Resolution
- Scroll down in the Display settings and click on Advanced display settings.
- Under "Resolution," select the appropriate resolution for your wireless external display. Choose the one that matches the display's native resolution for the best image quality.
Customize Display Orientation
- If you want to change the orientation of the wireless external display (e.g., landscape, portrait), click on Display adapter properties for Display X(replace X with the appropriate display number).
- In the new window, go to the Displaytab and use the drop-down menu under "Orientation" to select your preferred display orientation.
Apply And Save Changes
Once you've made the necessary adjustments, click Applyand then Keep changesto save the settings.
By adjusting the display settings properly, you can enjoy a seamless wireless external display experience on your Windows 10/11 computer, whether you're extending your desktop, duplicating the display, or customizing the resolution and orientation to suit your preferences.
Check For Windows Updates

How to Check for Windows Updates
Checking for Windows updates regularly is essential to keep your operating system secure, up-to-date, and compatible with various hardware and software, including wireless external displays. Here's how to check for Windows updates on Windows 10/11:
Windows 10
- Click on the Startbutton, and then click on the Settingsgear icon (usually located above the power button).
- In the Settings window, select Update & Security.
- In the Update & Security section, click on the Windows Updatetab on the left-hand side.
- Click on the Check for updatesbutton. Windows will start searching for available updates.
- If there are any updates available, they will be listed on the screen. Click on Download and Install to begin the update process.
- Windows will download and install the updates automatically. Depending on the size of the updates, this process may take some time. Your computer may restart multiple times during the update installation.
Windows 11
- Click on the Startbutton, and then click on the Settingsgear icon (usually located above the power button).
- In the Settings window, select Windows Updatefrom the left-hand side menu.
- In the Windows Update section, click on the Check for Updates button. Windows will start searching for available updates.
- If there are any updates available, they will be listed on the screen. Click on Download and Installto begin the update process.
- Windows will download and install the updates automatically. Similar to Windows 10, depending on the size of the updates, this process may take some time, and your computer may restart multiple times during the update installation.
Once the update process is complete, your Windows 10/11 computer will be up to date with the latest improvements, bug fixes, and enhancements. Keeping your system updated ensures a smoother experience when connecting and using wireless external displays and helps maintain overall system performance and security.
How To Connect A Wireless External Display In Windows 10/11?
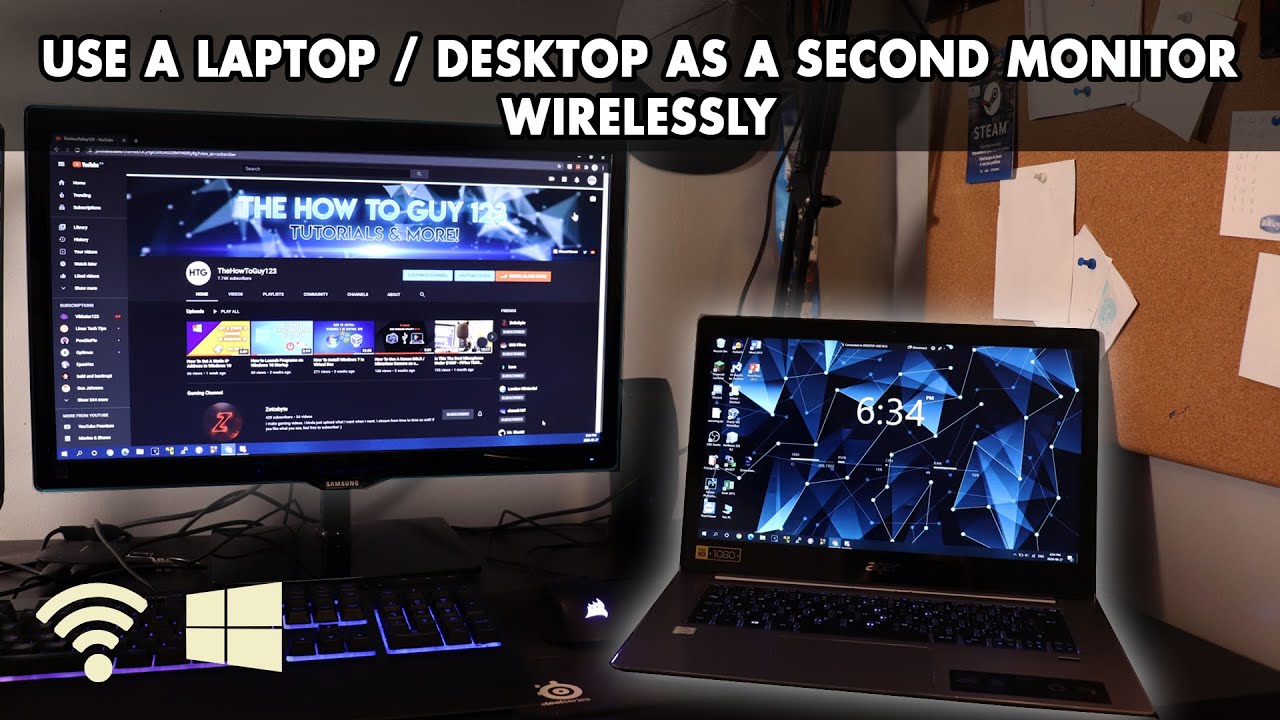
How to Use a Desktop or Laptop as a Wireless Second Monitor
Connecting a wireless external display in Windows 10/11 involves using technologies like Miracast or a wireless display adapter. Here's a step-by-step guide on how to do it:
Note:Before proceeding, ensure that both your Windows 10/11 computer and the wireless external display support the same wireless display technology (e.g., Miracast, Wi-Fi Direct). Also, make sure both devices are connected to the same Wi-Fi network.
Using Wi-Fi Miracast (Built-in Wireless Display)
Prepare The External Display
Power on your wireless external display and set it to the correct input/source for Miracast.
Enable Miracast On Windows 10/11
- On your Windows 10/11 computer, click on the Startbutton.
- Go to Settings(the gear-shaped icon).
- Select Devices.
Connect To The External Display
- In the Devices settings, click on the Connected devicestab on the left sidebar.
- Under Wireless displays & docks, click on Add a device.
- Windows will start searching for available wireless displays. When your external display appears in the list, click on it to connect.
Follow On-screen Instructions
If prompted, follow any on-screen instructions to complete the connection.
Adjust Display Settings
- After connecting, your wireless external display should mirror or extend your computer's screen automatically.
- If needed, you can customize the display settings (e.g., resolution, orientation) in the Display settingsof Windows.
Using A Wireless Display Adapter (e.g., Microsoft Wireless Display Adapter)
Connect The Wireless Display Adapter
- Plug the wireless display adapter into an available HDMI port on your wireless external display.
- Connect the USB end of the adapter into a USB port on your display for power.
Switch The Display Source
On your wireless external display, switch the input/source to the one connected to the wireless display adapter.
Enable Wireless Display On Windows 10/11
- On your Windows 10/11 computer, click on the Startbutton.
- Go to Settings(the gear-shaped icon).
- Select Devices.
Connect To The Wireless Display Adapter
- In the Devices settings, click on the Connected devicestab on the left sidebar.
- Under Wireless displays & docks, click on Add a device.
- Windows will start searching for available wireless display adapters. When your adapter appears in the list, click on it to connect.
Follow On-screen Instructions
If prompted, follow any on-screen instructions to complete the connection.
Adjust Display Settings
- After connecting, your wireless external display should mirror or extend your computer's screen automatically.
- If needed, you can customize the display settings (e.g., resolution, orientation) in the Display settingsof Windows.
With either method, your Windows 10/11 computer should now be connected wirelessly to the external display. You can use it as an extended display or mirror your computer's screen, depending on your preference and productivity needs. Enjoy the convenience and versatility of a wireless external display setup!
People Also Ask
How Do I Set Up A Second Monitor On Windows?
To set up a second monitor on Windows, follow these steps:
- Connect the second monitor to your computer using the appropriate video cable.
- Right-click on the desktop and select "Display settings."
- Scroll down and click on "Detect" to allow Windows to recognize the second monitor.
- Under the "Multiple displays" section, choose "Extend desktop to this display" to enable dual-monitor functionality.
Why Is My Second Monitor Not Detected On Windows?
There are several reasons why your second monitor may not be detected on Windows:
- Loose or faulty video cable connections.
- Outdated or corrupted graphics drivers.
- Incorrect display settings.
- Incompatible monitor resolution or refresh rate.
- Hardware issues with the graphics card or monitor.
Can I Use A Second Monitor With Different Resolutions On Windows?
Yes, you can use a second monitor with a different resolution on Windows. However, keep in mind that running monitors at different resolutions may affect the overall display quality and alignment of windows across the two screens.
How Do I Change The Primary Monitor On Windows?
To change the primary monitor on Windows, follow these steps:
- Right-click on the desktop and select "Display settings."
- Scroll down and click on "Identify" to see the number assigned to each monitor.
- Drag and drop the monitor icons to rearrange their positions based on your desired configuration.
- Scroll down and click on the monitor you want to set as the primary display.
- Check the box that says "Make this my main display" to designate it as the primary monitor.
Conclusion
A second monitor can be a game-changer, empowering you to accomplish tasks more efficiently and improve your overall computing experience. However, technical glitches can sometimes hinder this seemingly simple upgrade.
From checking hardware connections and updating graphics drivers to adjusting display settings and verifying power supply, there are numerous potential solutions to explore. By following these steps, you can identify and rectify the root cause of the problem, allowing you to enjoy the benefits of a dual-monitor setup.
Remember, technology can be finicky, and issues may vary depending on your specific hardware and software configuration. If you exhaust all the troubleshooting options without success, don't hesitate to seek professional technical support to resolve the issue.
So, equip yourself with the knowledge provided in this guide, and with a bit of patience and perseverance, you'll soon be enjoying the enhanced productivity and versatility of your second monitor on Windows. Happy computing!