Are you experiencing issues with your camera on Mac not working? It can be frustrating to have a malfunctioning camera, especially when you rely on it for work or personal use. Fortunately, there are several potential causes and solutions that can help you fix the problem.
How To Check If Camera On Mac Not Working
If you're experiencing issues with your Mac camera not working, the first step is to determine if the camera is actually functional. Here are some steps to help you check if your camera is working or not:
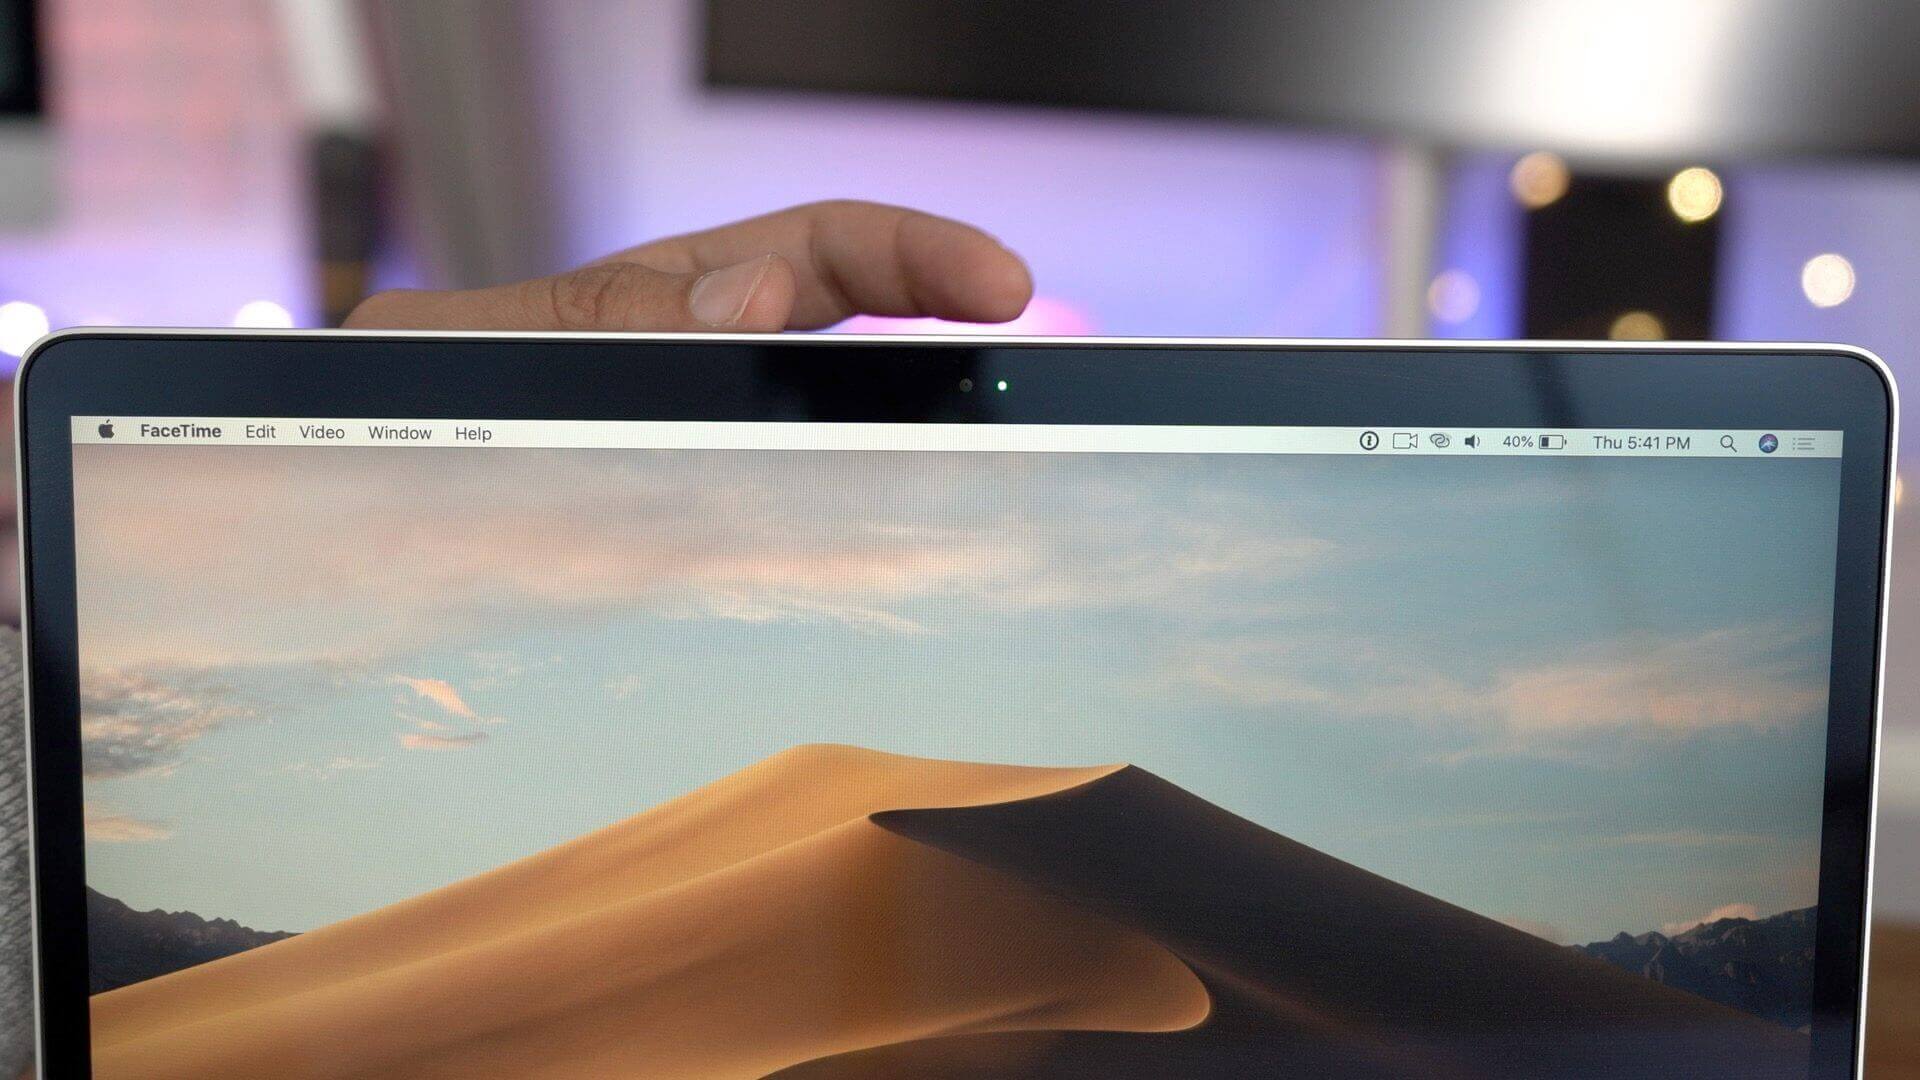
- Open the "Photo Booth" app- This app is pre-installed on all Mac devices and can help you test your camera. If your camera is working, you should see yourself on the screen.
- Check camera permissions - Make sure that your camera permission is enabled in your system preferences. Go to the "Apple" menu, select "System Preferences," and click on "Security & Privacy." Under the "Privacy" tab, make sure that the camera permission is enabled for the apps that you're using.
- Try a different app- If your camera is not working on one app, try using it on a different app, such as "FaceTime" or "Skype." If it works on a different app, the issue may be with the original app you were using.
- Restart your Mac- Sometimes, a simple restart can fix camera issues. Go to the "Apple" menu and select "Restart."
- Use Terminal to test your camera- You can use the Terminal app to test your camera. Open Terminal and enter the command "sudo killall VDCAssistant" (without quotes) and press Enter. This will restart the process that controls your camera. If your camera is working, you should see yourself on the screen in the "Photo Booth" app.
By following these steps, you can determine if your Mac camera is working or not. If you're still experiencing issues with your camera, you may need to contact Apple Support or visit an Apple Store for further assistance.
10 Potential Causes Of Mac Webcam Not Working And Here's How To Fix It
Mac users often rely on their built-in webcams for video calls, conferences, and meetings. However, if your Mac webcam is not working, it can be frustrating and inconvenient. There are several potential causes of webcam issues on a Mac, but fortunately, most of them can be resolved with a few simple fixes. In this article, we'll explore 10 potential causes of Mac webcam not working and how tofix them.
1. Check For Software Updates
One of the most common reasons for webcam issues on a Mac is outdated software. Make sure that you have the latest version of macOS installed, along with any updates for third-party apps that you use. You can check for updates by going to the Apple menu and selecting "System Preferences," then clicking "Software Update."
2. Close Other Apps Using The Camera
If your Mac webcam is not working, it's possible that another app is using it. Check to see if any other apps are running and using the camera, and close them if necessary. You can do this by opening the "Force Quit Applications" window, which you can access by pressing Command+Option+Escape.
3. Restart Your Mac
Sometimes, simply restarting your Mac can resolve webcam issues. Try turning your Mac off and back on again, and see if that fixes the problem.
4. Reset The System Management Controller (SMC)
Resetting the SMC can sometimes fix issues with hardware, including the webcam. To reset the SMC on a MacBook Pro or MacBook Air, follow these steps:
- Shut down your Mac.
- Press and hold the power button for 10 seconds.
- Release the power button and wait a few seconds.
- Press the power button again to turn on your Mac.
5. Check Your Camera Permissions
If your Mac webcam is not working, it's possible that you have not given the necessary permissions to the app you are using. To check your camera permissions, go to the Apple menu and select "System Preferences," then click "Security & Privacy." From there, click on the "Privacy" tab, and make sure that the app you are using has permission to access the camera.
6. Check Your Internet Connection
If you are having issues with video calls, it's possible that your internet connection is the problem. Make sure that you have a strong and stable internet connection, and that your network settings are configured correctly.
7. Check Your Webcam Settings
Sometimes, the settings on your webcam can cause issues. Make sure that your webcam settings are configured correctly, and that the correct camera is selected in the app you are using.
8. Clear Your Browser Cache And Cookies
If you are having issues with video calls in a browser, it's possible that your browser cache and cookies are causing the problem. Clearing your browser cache and cookies can often resolve these issues. Instructions for clearing the cache and cookies will vary depending on the browser you are using.
9. Clean Your Webcam Lens
If your Mac webcam is not working properly, it's possible that the lens is dirty or smudged. Use a soft, lint-free cloth to clean the lens of your webcam, and see if that resolves the issue.
10. Contact Apple Support
If none of the above solutions work, it's possible that there is a hardware issue with your webcam. In this case, you should contact Apple support for further assistance.

How to Fix Camera Macbook Not Working | Mac Camera Not Connected
How Do I Fix My MacBook Air Camera?
If you are experiencing issues with your MacBook Air camera, there are several steps you can take to fix the problem. Here are some troubleshooting tips to try:
1. Check For Software Updates
Make sure that you have the latest version of macOS installed, along with any updates for third-party apps that you use. You can check for updates by going to the Apple menu and selecting "System Preferences," then clicking "Software Update."
2. Restart Your MacBook Air
Sometimes, simply restarting your MacBook Air can resolve webcam issues. Try turning your MacBook Air off and back on again, and see if that fixes the problem.
3. Reset The System Management Controller (SMC)
Resetting the SMC can sometimes fix issues with hardware, including the webcam. To reset the SMC on a MacBook Air, follow these steps:
- Shut down your MacBook Air.
- Press and hold the Shift + Control + Option keys on the left side of the keyboard and the power button, all at the same time, for 10 seconds.
- Release all the keys and the power button at the same time, then turn on your MacBook Air by pressing the power button.
4. Check Your Camera Permissions
If your MacBook Air camera is not working, it's possible that you have not given the necessary permissions to the app you are using. To check your camera permissions, go to the Apple menu and select "System Preferences," then click "Security & Privacy." From there, click on the "Privacy" tab, and make sure that the app you are using has permission to access the camera.
5. Check Your Webcam Settings
Sometimes, the settings on your webcam can cause issues. Make sure that your webcam settings are configured correctly, and that the correct camera is selected in the app you are using.
6. Clear Your Browser Cache And Cookies
If you are having issues with video calls in a browser, it's possible that your browser cache and cookies are causing the problem. Clearing your browser cache and cookies can often resolve these issues. Instructions for clearing the cache and cookies will vary depending on the browser you are using.
7. Clean Your Webcam Lens
If your MacBook Air webcam is not working properly, it's possible that the lens is dirty or smudged. Use a soft, lint-free cloth to clean the lens of your webcam, and see if that resolves the issue.
8. Contact Apple Support
If none of the above solutions work, it's possible that there is a hardware issue with your webcam. In this case, you should contact Apple support for further assistance.
Is The MacBook Pro Camera Better Than Air? FAQ
Both the MacBook Pro and MacBook Air have built-in webcams, but is one better than the other? The answer is yes, the MacBook Pro camera is generally considered to be better than the MacBook Air camera.
The MacBook Pro features a 720p FaceTime HD camera, which is capable of capturing higher-quality video than the 720p FaceTime camera on the MacBook Air. Additionally, the MacBook Pro camera has a larger sensor, which allows for better low-light performance.
However, it's important to note that the difference in camera quality between the MacBook Pro and MacBook Air may not be noticeable in everyday use. Both cameras are more than adequate for video calls, conferences, and meetings.
How Can I Test My MacBook Air Camera? FAQ
If you want to test your MacBook Air camera, there are several ways to do so. Here are some options:
- Use the built-in camera app - The easiest way to test your MacBook Air camera is to use the built-in camera app. To open the camera app, click on the Launchpad icon in your Dock, then click on the Camera app.
- Use a third-party app- There are several third-party apps that you can use to test your MacBook Air camera, such as Skype, Zoom, or Google Meet. Simply open the app and start a video call or meeting to test your camera.
- Use the Photo Booth app- The Photo Booth app is another option for testing your MacBook Air camera. To open the app, click on the Launchpad icon in your Dock, then click on the Photo Booth app. From there, you can take photos or record videos to test your camera.
- Use the QuickTime Player - You can also use the QuickTime Player to test your MacBook Air camera. Open the QuickTime Player app, then click on "File" in the menu bar and select "New Movie Recording." This will open your MacBook Air camera and allow you to test it.
- Use an online webcam testing website - There are several websites that allow you to test your webcam online, such as webcamtests.com or testmycam.com. These websites will test your camera and display the results on the screen.
Overall, testing your MacBook Air camera is a straightforward process that can be done using the built-in camera app, third-party apps, or online webcam testing websites. If you find that your camera is not working properly, you can refer to the previous section for tips on how to troubleshoot the issue.

People Also Ask
Why Is My Mac Camera Not Working On Zoom?
If your Mac camera is not working specifically on Zoom, it could be due to several reasons such as incorrect camera settings, outdated Zoom app, or conflicting third-party apps. To fix this issue, you can try the following steps:
- Check your camera settings in Zoom to ensure the correct camera is selected
- Quit and restart the Zoom app
- Update your Zoom app to the latest version
- Disable any third-party apps that may interfere with your camera
How Do I Fix My Mac Camera If It's Showing A Black Screen?
If your Mac camera is showing a black screen, it could be due to a hardware issue or a software problem. Here are some troubleshooting steps you can try:
- Check if there is any physical obstruction on the camera lens or cover
- Restart your Mac
- Check your camera settings and permissions in System Preferences
- Reset the SMC (System Management Controller)
- Try running your Mac in Safe Mode
- Contact Apple Support for further assistance
Why Does My Mac Camera Keep Turning Off?
If your Mac camera keeps turning off, it could be due to several reasons such as energy-saving settings, outdated software, or hardware issues. Here are some solutions you can try:
- Check your energy-saving settings to ensure they are not turning off the camera
- Update your macOS to the latest version
- Reset the SMC (System Management Controller)
- Check if any third-party apps are interfering with your camera
- Clean your webcam lens to ensure there are no obstructions
- Contact Apple Support if the issue persists.
Conclusion
In conclusion, a malfunctioning camera on Mac not working can be caused by various factors such as outdated software, incorrect settings, or hardware issues. By following the troubleshooting steps outlined in this article, you can diagnose and fix the problem with ease.
Remember to check your camera permissions, reset the SMC, clean the webcam lens, and update your software regularly to ensure your camera functions properly.