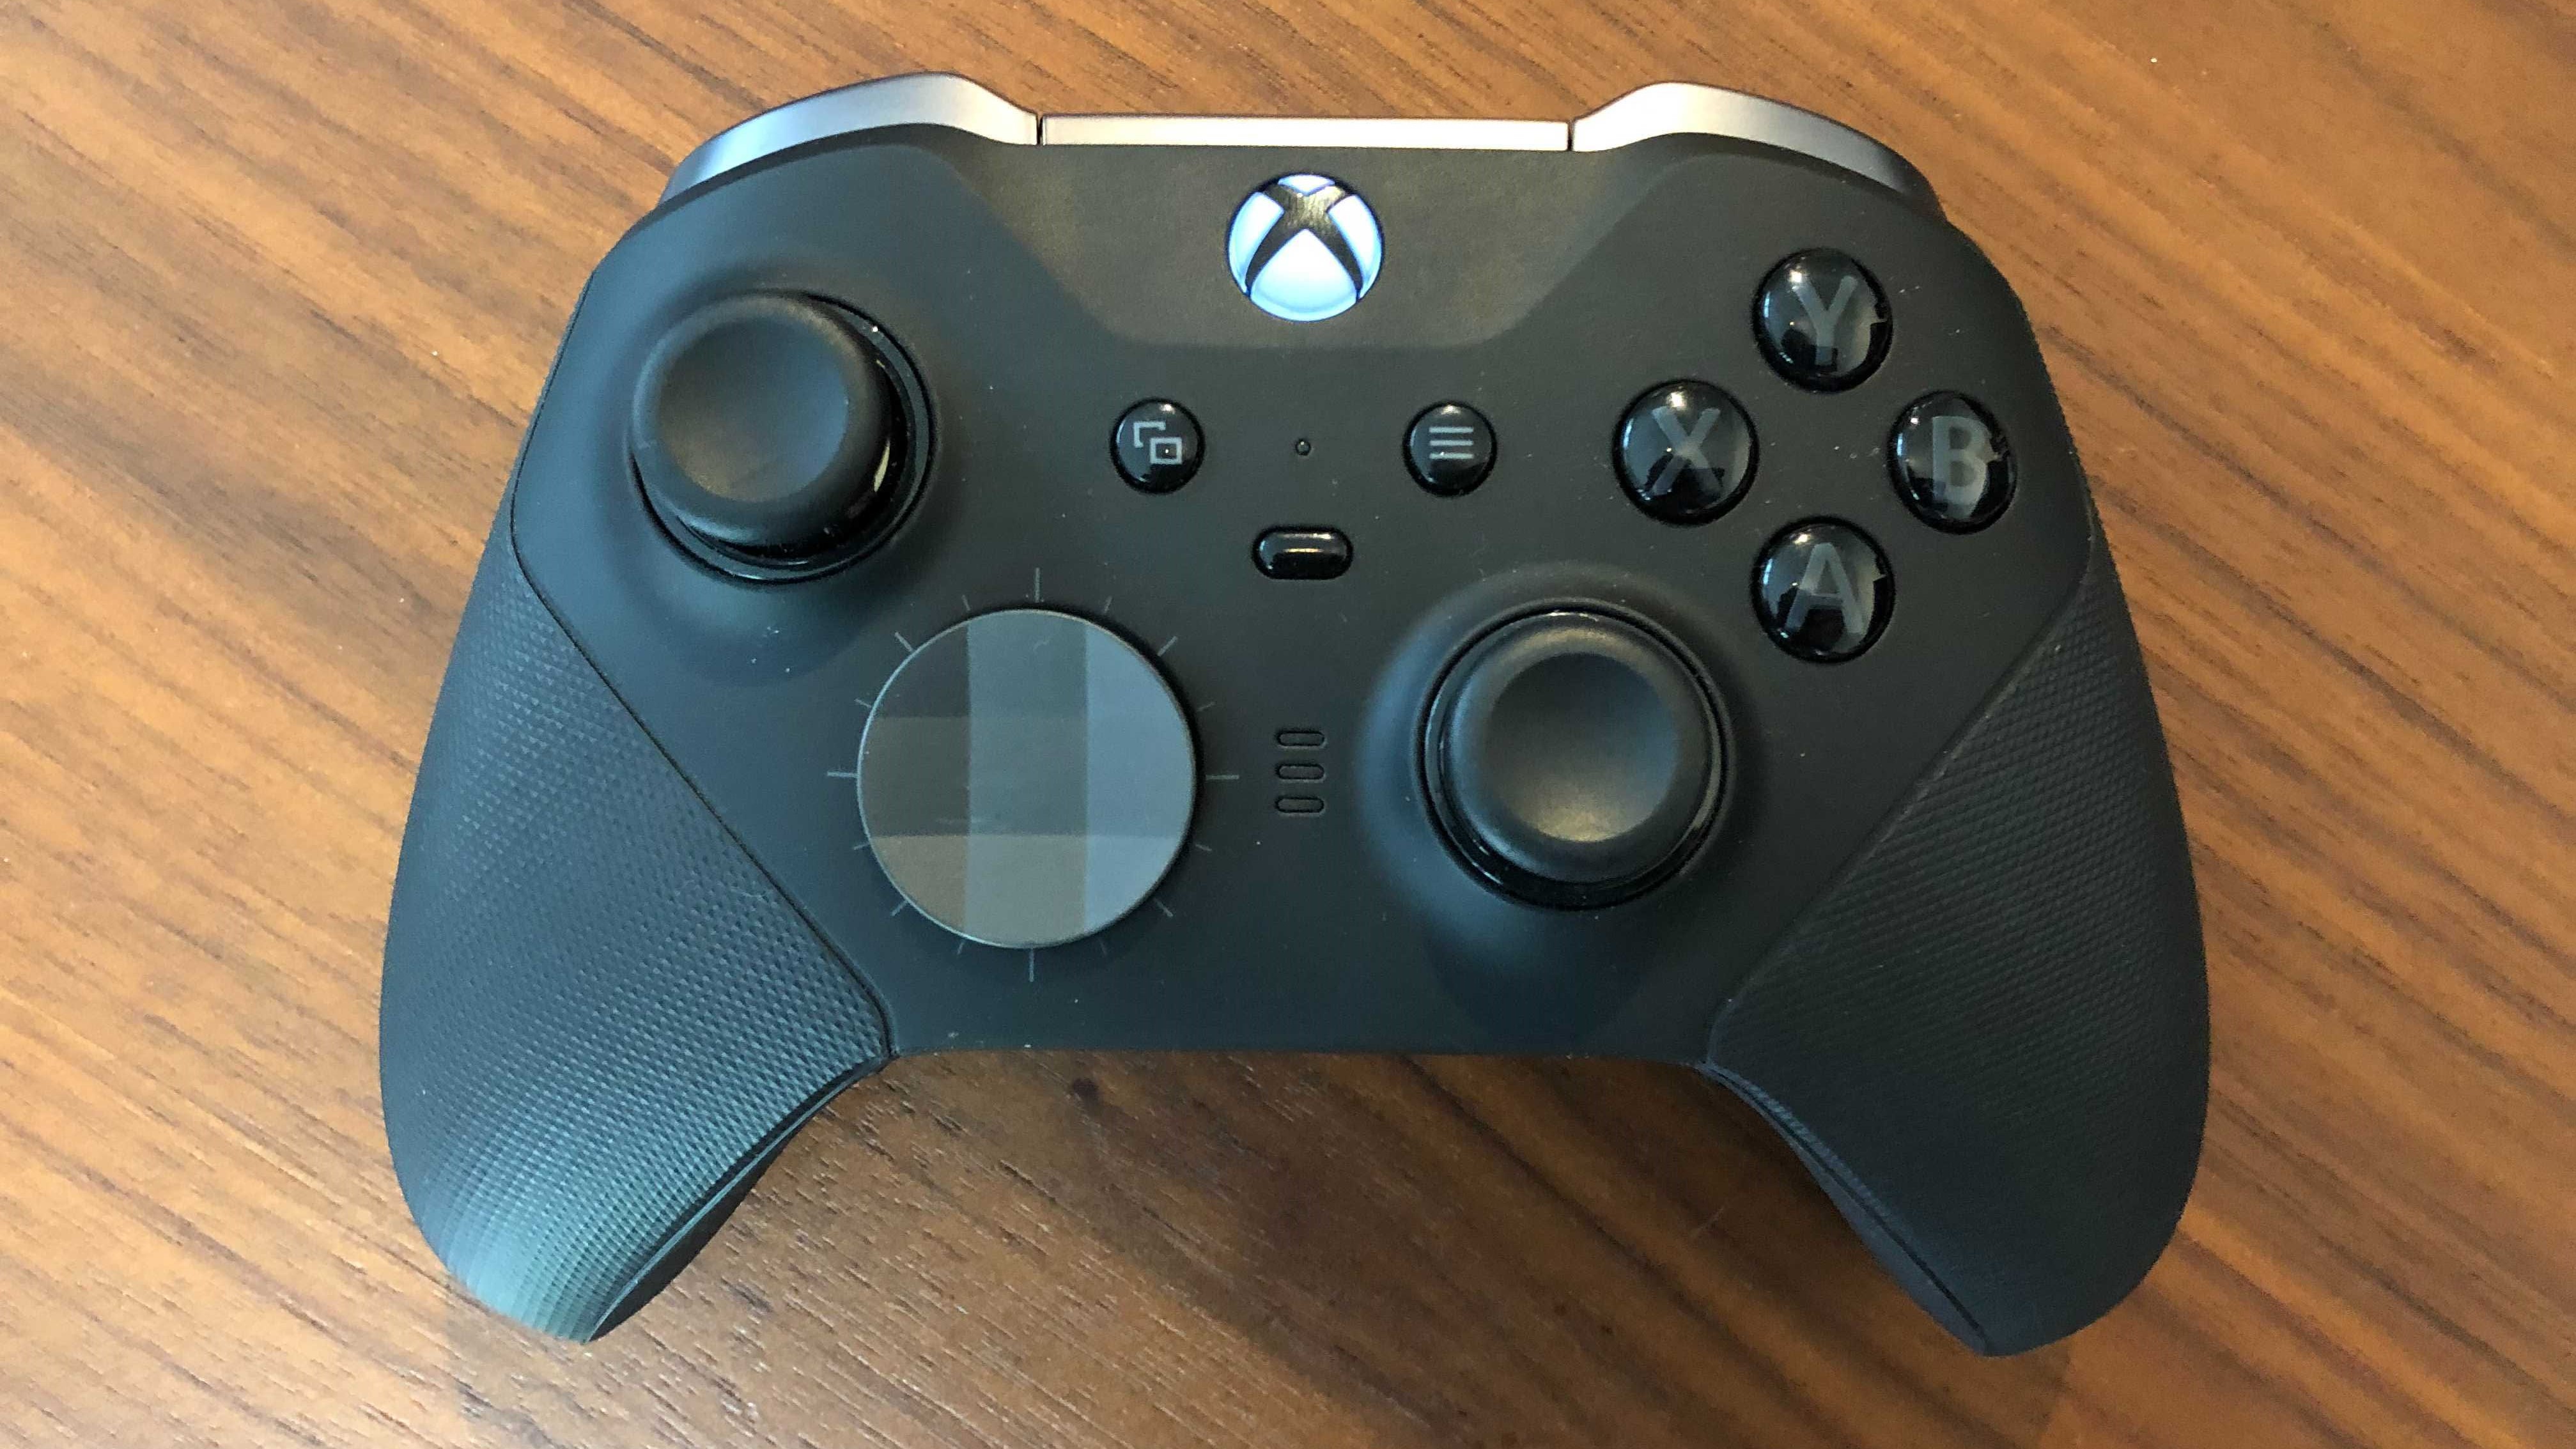
Gamingon the Xbox One is an immersive experience that millions around the world cherish. However, even the most enjoyable gaming sessions can be marred by a persistent and irksome problem: controller drift. But fear not, for in this article, we will explore several effective methods to fix Xbox One Controller drift. The frustration of your in-game character moving without any input from you is a common issue among Xbox One users. Whether it's a simple cleaning procedure or a more complex calibration process, we've got you covered. Say goodbye to controller drift, and let's dive into the solutions.
What Is Xbox One Controller Drift?
Xbox One controller drift is a common issue where the thumbsticks on an Xbox One controller register unintended movement even when the user is not actively touching or moving them. This problem can lead to in-game characters moving or camera angles changing without any input from the player, which can significantly disrupt the gaming experience.
Controller drift can occur due to various factors, including wear and tear, dust or debris accumulation, or calibration issues. It is a frustrating issue that many Xbox One users encounter and seek to resolve to maintain precise and responsive control while gaming. There are three main reasons why an Xbox One controller drifts:
- Worn-out thumbstick pad- Each thumbstick has a boxy sensor part with an adjustable shaft on top and a rubber or plastic part that snaps onto the shaft. If the rubber or plastic piece wears out, you will need to replace it or fix it to fix your drift problem. Thumbstick pads that are dirty can sometimes cause the same problem.
- Worn-out springs- Each sensor part of the thumbstick has two springs that help it snap back to the middle when you take your thumb off of it. Drift happens when one or both of the springs wear out. This problem can be fixed by changing the springs.
- Bad thumbstick unit - Each thumbstick has a boxy sensor part that is attached to the controller's circuit board. This part can fail from the inside. The only way to fix it is to replace it with a new one.
How To Fix Worn Out Thumbstick Pads
Fixing worn-out thumbstick pads on your gaming controller can improve your gaming experience and extend the life of your controller. Here's a step-by-step guide on how tofix worn-out thumbstick pads:
Materials Needed
- Replacement thumbstick pads
- Screwdriver (if necessary)
- Rubbing alcohol
- Cotton swabs or a soft cloth
Steps To Fix Worn-Out Thumbstick Pads
- Prepare Your Workspace -Find a clean and well-lit workspace to work on your controller. Ensure that you have all the necessary materials ready.
- Remove the Battery -If you're working on a wireless controller, remove the battery pack or batteries to ensure your safety while working on it.
- Inspect the Damage -Examine the thumbstick pads to assess the extent of wear and damage. If the pads are severely worn, cracked, or missing, you'll need to replace them.
- Obtain Replacement Thumbstick Pads - You can purchase replacement thumbstick pads online or from gaming accessory stores. Make sure to choose pads that are compatible with your controller model.
- Disassemble the Controller (if necessary) - Depending on your controller model, you may need to disassemble it to access the thumbstick pads. Consult your controller's manual or search online for specific disassembly instructions for your controller model.
- Remove the Old Thumbstick Pads -Gently pry off the old thumbstick pads using your fingers or a flat-head screwdriver if necessary. Be careful not to damage the controller's internals during this process.
- Clean the Thumbstick Area:Use a cotton swab or a soft cloth dampened with rubbing alcohol to clean the area where the old thumbstick pads were attached. This will remove any dirt, residue, or adhesive left behind.
- Attach the New Thumbstick Pads -Carefully place the replacement thumbstick pads onto the controller's thumbstick posts. Ensure they are properly aligned and securely attached.
- Reassemble the Controller (if disassembled) -If you have to disassemble the controller, carefully follow the reverse steps to put it back together. Make sure all components are properly reconnected and screws are tightened.
- Test the Controller -Reconnect the controller to your gaming system and test it to ensure that the new thumbstick pads are working correctly. Check for any drifting or erratic movements. If everything is functioning well, you've successfully fixed the worn-out thumbstick pads.
How To Fix Worn Out Xbox One Controller Thumbstick Springs?
Fixing worn-out Xbox One controller thumbstick springs can be a bit more challenging than addressing worn thumbstick pads, as it often involves disassembling the controller and working with its internal components. Here's a step-by-step guide on how to fix worn-out Xbox One controller thumbstick springs:
Materials Needed To Fix Thumbstick Springs
- Replacement thumbstick springs (if necessary)
- Screwdriver
- Rubbing alcohol
- Cotton swabs or a soft cloth
- Tweezers (optional)
- Precision screwdriver set (optional)
Warning -Disassembling your Xbox One controller may void its warranty if it's still covered. Proceed at your own risk, and only attempt this if you are comfortable with electronics and have experience working with small components.
Steps To Fix Worn-Out Xbox One Controller Thumbstick Springs
- Prepare Your Workspace -Find a clean and well-lit workspace to work on your controller. Ensure that you have all the necessary materials ready.
- Remove the Battery -If you're working on a wireless controller, remove the battery pack or batteries to ensure your safety while working on it.
- Disassemble the Controller - To access the thumbstick springs, you'll need to disassemble the controller. Use a screwdriver to carefully remove the screws holding the controller's casing together. Take note of the screw locations and keep them in a safe place.
- Access the Thumbstick Springs -Once the controller is open, you'll be able to access the thumbstick assemblies. They consist of the thumbstick itself, a plastic housing, and the spring.
- Inspect the Springs -Examine the thumbstick springs to assess their condition. If the springs are damaged, worn, or missing, you'll need to replace them. Replacement springs can often be found online or at electronics repair shops.
- Remove the Old Springs -If the old springs are still intact, carefully remove them using tweezers or your fingers. Be gentle to avoid damaging any other components.
- Clean the Thumbstick Area -Use a cotton swab or a soft cloth dampened with rubbing alcohol to clean the area around the thumbstick assembly. Remove any dirt, dust, or debris that may have accumulated.
- Install the New Springs -If you have replacement springs, carefully install them in the thumbstick assembly. Ensure they are correctly positioned and securely seated.
- Reassemble the Controller -Reassemble the controller by attaching the casing and tightening the screws. Make sure all components are properly reconnected.
- Test the Controller -Reconnect the controller to your gaming system and test it to see if the new springs have resolved the issue. Check for any drift or erratic movements. If everything is functioning correctly, you've successfully fixed the worn-out thumbstick springs.
Here’s How To Replace An Xbox One Controller Analog Stick
Replacing an Xbox One controller analog stick can breathe new life into a worn or malfunctioning controller. Here's a step-by-step guide on how to replace an Xbox One controller analog stick:
Materials Needed To Fix Analog Stick
- Replacement analog stick
- Screwdriver
- Tweezers
- Rubbing alcohol
- Cotton swabs or a soft cloth
Warning -Don't attempt this fix if you don't have experience desoldering components from a circuit board. Any mistakes with the desoldering tool or soldering iron could easily ruin your controller.
Steps To Replace An Xbox One Controller Analog Stick
- Prepare Your Workspace -Find a clean and well-lit workspace to work on your controller. Ensure that you have all the necessary materials ready.
- Remove the Battery - If you're working on a wireless controller, remove the battery pack or batteries to ensure your safety while working on it.
- Disassemble the Controller -Use a screwdriver to carefully remove the screws holding the controller's casing together. Take note of the screw locations and keep them in a safe place. Gently pry apart the controller's housing to access the internal components.
- Locate the Analog Stick Assembly -Once the controller is open, you'll see the analog stick assemblies. Each assembly consists of an analog stick, a plastic housing, and connectors.
- Remove the Old Analog Stick -Carefully disconnect the old analog stick from the controller's circuit board by gently pulling the connectors apart. Use tweezers if necessary. Be cautious not to damage any nearby components or cables.
- Detach the Analog Stick from the Housing -The analog stick is typically held in place by clips or adhesive. Carefully detach the old analog stick from its housing. If it's adhered, use a gentle prying motion.
- Clean the Housing -Use a cotton swab or a soft cloth dampened with rubbing alcohol to clean the housing and remove any adhesive residue or dirt.
- Attach the New Analog Stick -Position the new analog stick in the housing, ensuring that it fits securely. If it's held in place by clips, make sure they snap into position.
- Reconnect the Analog Stick -Carefully reconnect the connectors of the new analog stick to the controller's circuit board. Ensure they are properly seated.
- Reassemble the Controller -Carefully reattach the controller's casing and tighten the screws. Make sure all components are properly reconnected.
- Test the Controller -Reconnect the controller to your gaming system and test it to see if the new analog stick is functioning correctly. Check for any drift or erratic movements. If everything is working as expected, you've successfully replaced the analog stick.
How Do I Fix Sticky Buttons On An Xbox One Controller? FAQ
What If The Buttons Are Still Sticky After Cleaning?
If the buttons remain sticky after cleaning, there may be a more severe issue, such as damage to the button or underlying components. Reach out to Xbox Support for guidance on further troubleshooting or repair options.
Can I Prevent Buttons From Getting Sticky In The Future?
Yes, here are some tips to prevent sticky buttons:
- Keep Your Hands Clean -Wash your hands before gaming to reduce the transfer of dirt and oils onto the controller.
- Store Properly -Store your controller in a clean, dry place when not in use.
- Use Controller Covers -Consider using silicone controller covers to protect against spills and dust.
- Regular Cleaning -Perform routine cleaning and maintenance to prevent button stickiness from becoming a recurring issue.
What Causes Sticky Buttons On An Xbox One Controller?
Sticky buttons can occur due to a variety of reasons, including spills, dirt, dust, or wear and tear over time. Understanding the cause can help you prevent it in the future.
How Often Should I Clean My Xbox One Controller To Prevent Sticky Buttons?
Cleaning your controller every few months or as needed is a good practice. However, if you frequently use your controller or spill liquids on it, more frequent cleaning may be necessary.
Is It Safe To Use Rubbing Alcohol On My Controller Buttons?
Yes, rubbing alcohol is safe for cleaning controller buttons. Ensure the controller is powered off and disconnected before cleaning to prevent any damage.
Can I Disassemble My Xbox One Controller To Clean Sticky Buttons More Thoroughly?
Disassembling an Xbox One controller for cleaning is possible but requires careful handling and some technical know-how. If you're uncomfortable with this, consider seeking professional assistance.
Can I Use Any Type Of Alcohol For Cleaning, Or Is Rubbing Alcohol Recommended?
Rubbing alcohol is recommended because it evaporates quickly and leaves no residue. It's also gentle on plastic and electronic components. Other types of alcohol may not be as suitable.
Are There Specific Cleaning Techniques To Use For Different Types Of Buttons (e.g., Regular Buttons, Triggers, Thumbsticks)?
While the basic cleaning process is similar, the technique may vary slightly for different types of buttons. For example, thumbsticks may require more careful cleaning around the base to prevent damage to the joystick mechanism.
Should I Take Any Precautions To Avoid Damaging My Xbox One Controller While Cleaning It?
Yes, ensure the controller is powered off and disconnected before cleaning. Use minimal liquid and avoid getting alcohol or moisture into the controller's openings, such as the charging port or button gaps.
How Do I Fix An Xbox One Controller That Won't Turn On? FAQ
My Xbox One Controller Won't Turn On. What Can I Do To Fix It?
A non-responsive Xbox One controller can be frustrating, but there are several steps you can take to diagnose and potentially fix the issue. Here's a step-by-step guide:
- Check the Batteries -If you're using a wireless controller, ensure that the batteries are not depleted. Replace them with fresh or fully charged batteries.
- Reconnect Wired Controller -If you're using a wired controller, unplug it from the Xbox or PC and plug it back in to ensure a secure connection.
- Sync with Xbox Console -For wireless controllers, press and hold the Xbox button on the controller to power it on. At the same time, press and hold the sync button on the front of your Xbox console until the Xbox logo blinks. Release both buttons and wait for the controller to sync.
- Hard Reset the Controller -If the controller is still unresponsive, perform a hard reset:
- Update the Controller Firmware -Outdated firmware can sometimes cause issues. Connect the controller to your Xbox One using a USB cable and check for firmware updates in the settings menu. Follow on-screen instructions to update if available.
- Replace the Batteries (Wireless Controllers) -Sometimes, even partially depleted batteries can cause problems. Swap them out for fresh ones or rechargeable batteries if your controller supports them.
- Check for Physical Damage -Inspect the controller for physical damage, such as a damaged cable or buttons. If you find any damage, it may need repair or replacement.
- Try Another Controller -If you have access to another Xbox One controller, test it on your console to determine if the issue is with the controller itself or something else.
- Reset the Xbox Console -If none of the above steps work, you can try a console reset:
My Controller Still Won't Turn On. What Should I Do Next?
If your controller remains unresponsive after trying the steps above. Reach out to Xbox Support for further troubleshooting or repair options. There may be an underlying hardware issue that requires professional attention. If your controller is under warranty, inquire about warranty service or replacement through Xbox Support.
Why Won't My Xbox One Controller Turn On?
Several factors can cause a non-responsive controller, such as depleted batteries, connectivity issues, or firmware problems.
What's The First Thing To Check When My Xbox One Controller Won't Turn On?
Start by checking the batteries if you're using a wireless controller or the cable connection if you're using a wired controller. Ensure they are properly connected and functioning.
How Can I Test If The Issue Is With The Controller Or The Xbox Console Itself?
Try using another controller if available. If the other controller works, the issue may be with your non-responsive controller.
What Should I Do If My Xbox One Controller Still Won't Turn On After Checking The Batteries And Connections?
You can try hard resetting the controller, updating its firmware, or checking for physical damage or corrosion.
How Do I Perform A Hard Reset On My Xbox One Controller?
To perform a hard reset, press and hold the Xbox button on the controller for about 10 seconds until it turns off. Release the button, then press it again to turn the controller back on.
Can I Update The Controller Firmware If It Won't Turn On?
No, you typically need a powered-on controller to update its firmware. Try using another controller to perform the update.
What If I Suspect Physical Damage To My Controller? How Can I Check For It?
Inspect the controller for physical damage, such as a damaged cable, button, or visible signs of wear and tear. Focus on the areas that might affect its functionality.
My Controller Is Still Unresponsive After Trying All These Steps. What Should I Do Next?
If your controller remains non-responsive after troubleshooting, consider contacting Xbox Support for further assistance. There may be an underlying hardware issue that requires professional attention or replacement.
Is My Controller Still Under Warranty? Can I Get It Repaired Or Replaced?
Check the warranty status of your controller. If it's under warranty, contact Xbox Support to inquire about warranty service or replacement options.
Can A Software Update On My Xbox One Console Cause Controller Connectivity Issues?
It's possible, but it's relatively rare. If you suspect a software update caused the issue, you can try updating your console to the latest system software to see if it resolves the problem.
How Do I Update An Xbox One Controller? FAQ
How Do I Update My Xbox One Controller?
Updating your Xbox One controller is a straightforward process that ensures compatibility and stability with your Xbox One console. Here's a step-by-step guide:
- Connect the Controller -Ensure your Xbox One controller is powered on and connected to your Xbox One console or PC via a USB cable. Wireless controllers can be updated through a USB connection.
- Connect to Xbox Live -Make sure your Xbox One console is connected to the internet and signed in to an Xbox Live account. This is crucial for downloading and applying updates.
- Press the Xbox Button -On the connected controller, press the Xbox button to open the Xbox Guide.
- Navigate to Settings -Use the left thumbstick to navigate to the "System" tab and select "Settings."
- Access Devices & Connections -In the "Settings" menu, select "Devices & connections."
- Choose Accessories -On the "Devices & connections" screen, select "Accessories."
- Select the Controller -Highlight the controller you want to update in the list of connected devices. It should display the controller's name or number.
- Check for Updates - Once you've selected the controller, you'll see an option to "Device info" or "Controller options." Choose this option.
- Check for Updates -On the "Device info" or "Controller options" screen, look for an option to "Firmware version" or "Update firmware." Select it to check for updates.
- Download and Install -If an update is available, follow the on-screen instructions to download and install the firmware update. This process may take a few minutes.
- Complete the Update -Wait for the update to finish. The controller may power off and back on during this process. Once completed, you should see a message indicating a successful update.
- Test Your Controller -After updating, you can test the controller to ensure it's working correctly.
What If My Controller Doesn't Have The "Update Firmware" Option?
If your controller doesn't display the option to update the firmware, it may already be up to date. Xbox One controllers are designed to automatically receive firmware updates when needed.
Can I Update The Controller Wirelessly?
While some controller updates can be applied wirelessly, it's generally recommended to use a USB cable for updates to ensure a stable and reliable connection. If your controller has been experiencing issues, a wired update may be more reliable.
Why Should I Update My Xbox One Controller?
Updating your controller's firmware can improve compatibility, and performance, and address potential issues, ensuring a better gaming experience.
Can I Use My Controller Without Updating The Firmware?
Yes, you can use your controller without updating the firmware. However, updating it is recommended for optimal performance and compatibility with your Xbox One console or PC.
How Do I Know If My Controller Needs A Firmware Update?
The Xbox One console or PC will typically prompt you to update the controller firmware when a new update is available. You can also manually check for updates.
What Should I Do If I Don't Receive A Notification To Update My Controller Firmware?
You can manually check for updates in the controller settings on your Xbox One console or PC. If the update doesn't appear, your controller's firmware may already be up to date.
Can I Update My Controller Wirelessly?
While some controller updates can be applied wirelessly, it's generally recommended to use a USB cable for updates to ensure a stable and reliable connection.
Do I Need An Xbox Live Gold Subscription To Update My Controller?
No, you don't need an Xbox Live Gold subscription to update your controller. Firmware updates are typically free and available to all users.
Can I Update My Controller On A PC?
Yes, you can update your Xbox One controller on a PC. Simply connect your controller to your PC using a USB cable, and then check for updates through the Xbox Accessories app or the Xbox Accessories website.
What Should I Do If The Firmware Update Fails Or Gets Interrupted?
If a firmware update fails or gets interrupted, disconnect and reconnect the controller, restart your Xbox console or PC, and then attempt the update again.
Can I Revert To The Previous Firmware Version If The Update Causes Issues?
Generally, you cannot revert to a previous firmware version after updating. Xbox firmware updates are designed to be one-way installations for security reasons. If you encounter issues after updating, contact Xbox Support for assistance.
Is There A Risk Of Damaging My Controller When Updating The Firmware?
Firmware updates are designed to be safe and should not damage your controller. However, it's essential to follow the update instructions carefully and avoid interrupting the process to minimize any risks.
Frequently Asked Questions
What Causes Xbox One Controller Drift?
Xbox One Controller Drift can be caused by a variety of factors, including wear and tear, dust or debris accumulation, loose thumbstick mechanisms, or calibration issues.
Can Software Updates Fix Xbox One Controller Drift?
Software updates can sometimes address drift issues by improving controller firmware. It's recommended to keep your controller firmware up to date to benefit from potential fixes.
Does Xbox One Controller Drift Happen With Both Wired And Wireless Controllers?
Yes, both wired and wireless Xbox One controllers can experience drift issues. The underlying causes are often similar, and the troubleshooting steps are generally the same.
Is Xbox One Controller Drift Covered Under Warranty?
Xbox One controller warranties typically cover manufacturing defects but may not cover wear and tear issues like drift. It's advisable to check your controller's warranty and contact Xbox Support for guidance.
Are There Any DIY Fixes For Xbox One Controller Drift Besides Cleaning?
Yes, besides cleaning, some users have attempted to fix drift by adjusting dead zone settings in the console or game settings. However, these adjustments may not always provide a permanent solution, and precision may suffer.
Conclusion
Controller drift on your Xbox One can be infuriating, disrupting your gaming experience and causing undue stress. However, as we've explored in this article, there are practical steps you can take to address this issue. From cleaning and firmware updates to calibration and thumbstick replacement, there's a solution that should work for you.
Remember, a properly functioning controller is essential for an enjoyable gaming experience, and with these fixes, you can get back to your favorite games without the frustration of unwanted movement. So, don't let controller drift hold you back any longer – apply these remedies, and may your gaming adventures be drift-free from here on out. Happy gaming!